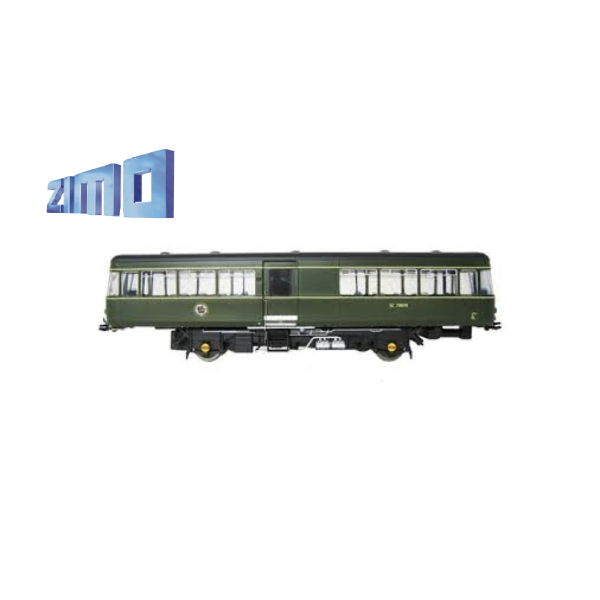
ZS100A BR Heljan 4 wheeled Railbus ActiveDrive V15.5
Please spend a few moments to read these notes which have been produced so that you may obtain the maximum satisfaction from your new sound scheme.
Warnings. Please read before fitting your new decoder.
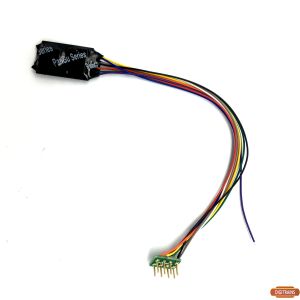
1, Fit 21 pin decoders yellow component side upwards. Failures caused by fitting incorrectly , usually upside, down are not covered by warranty and will incur a repair cost to obtain a replacement decoder. Always identify the missing pin hole on the underside of the decoder and align it with the missing pin on your loco circuit board. Fitting it any other way will damage your new decoder.
2, Do not leave wires connections bare if modifying wiring to fit your installation requirements. Always use heatshrink insulation. Bare wires kill decoders.
3, On MX645 decoders the stay alive capacitor wires are the blue and grey pair on their own. Blue to the +ve (unmarked) side of capacitor and grey to grey striped –ve (marked -) side. Then insulate with heatshrink. Wrong way round will blow the capacitor and can damage the decoder! Do not confuse these with function blue and the motor grey wires.
4, Speaker wires, both purple, not polarity sensitive but ensure well insulated as short circuits on speaker output will blow amplifier and this is not covered on the warranty as it isn’t a manufacturing defect but considered as mishandling.
5, Please be sure you are confident working in your locomotives and have the necessary skills to fit the decoders. If not seek the services of a professional.
The sounds should work perfectly when the decoder is fitted correctly. Individual locos may require some fine tuning that you can achieve with your DCC controller.
What is ActiveDrive?
This is a system developed to allow more prototypical sounds to be deployed across a wide range of operating conditions.
The sounds have been programmed in such a way that you, the user, may change the way that the sounds respond to your driving style or needs. This avoids the need for reprogramming and all the additional costs that would imply.
Engine Start Up.
F 1 will crank and start the engine which will then settle down into Idle
Throttle Response Scheme.
As supplied, the decoder will produce the sounds of a single engined Railbus.
After the start-up routine the loco will stand with the diesel engine, the Prime Mover (PM), ticking over at idle.
The sounds will respond to the throttle control in the following way:
Select speed step 1. The brakes will release, the PM will increase power to get the train moving, and will continue until at higher speed until the revs drop and a gearchange sequence plays. If the speed you need is high enough it will rev up and continue the accelerate through the gears. A speed of 65 steps will ensure all 4 gear changes occur and the engine will then settle down to cruise. If 65 is too high it will progess through the gears and then settle to idle speed, you can then press F7 to cruise at lower speeds than in top gear.
The sounds will spool down to idle as you reduce the throttle.
For those of you who prefer something more immersive, in this custom version there are extra control features to further enhance your driving pleasure.
Coasting
No matter what actual speed your model is travelling at, or which engine note range is playing, reducing the throttle by 1 speed steps will spool down the engine sounds to ‘Coasting’
The coasting sound will continue until you accelerate; at which point the sounds will change to those relevant to the current speed.
Heavy Train/Light Engine Mode Selection
The default setting is for a”fully loaded train”. Inertia is high so acceleration (and deceleration) is restricted.
Activated by F5, Light loading enables multi-function changes with one key. The switched features include reduced inertia setting to allow more rapid acceleration and engine sounds which accelerate differently.
F5 can be operated at any speed to give another way in which the engine sounds at a given road speed may be modified instantly.
Note. This works best if you switch F5 on or off whilst the engine sounds are playing in idle. Once switched, you can leave it that way, but any further change should also be made with the engine sound again playing the idle loop. Just to be clear, the actual speed is unimportant, but the engine sound must be idling. You can achieve this in several ways as discussed above.
Dynamic Inertia
A combination of new features is included in the automatic operation of the throttle which will affect how the model responds to your control inputs.
The operation is identical in either ‘heavy’ or ‘light’ mode. Put in simple terms, the wider you open the power controller, the quicker the engine sounds ramp up and for the first time on any decoder, the acceleration rate increases correspondingly.
What does this mean in practice?
If you use your controller’s throttle gently, with modest speed step increases, then the engine will rise and fall automatically and the model will accelerate according to the momentum setting. This is by default high for ‘heavy’ and low for ‘light’.
If however, you open the throttle rapidly, the engine will ramp up to full power and acceleration will be approximately 3 times quicker. This change in acceleration rate is variable and dependent upon throttle operation.
Brakes
F2 will give the sound of brake applications. They can be ‘dabbed’ or held for varying length. The sound will respond accordingly.
However, if the throttle is reduced beforehand, as a real driver would do before braking, a braking force will be applied which will continue to increase the longer F2 is held. Short dabs will provide speed trimming, held down continuously will result in a controlled ‘Emergency Stop’.
PowerCab users please note that the Horn/Whistle button operates the same sound/function as the F2 Key, but set as ‘momentary’. This facilities the precise operation of the brakes and should be used instead of F2.
Other systems may have F2 set to operate as ‘momentary’ by default, or can be set to do so.
Live Volume Control
Provided the sound is switched on and the ‘fade’ button is not active, it is possible to change the overall volume to suit changing needs.
Engage F27 and the sound levels will gradually reduce, eventually to silence
Engage F28 and the sound levels will gradually increase, eventually to maximum.
In each case, disengage the F key when the desired level is attained. Set F27 and F28 as ‘momentary’ if your DCC controller allows you to do so.
Note: If the volume controls appear to not function, check that F19, F27 and F28 are disengaged before making a further attempt.
Function List
|
F Key
|
Function/Sound
|
Volume
Setting CV
|
|
0
|
Lights
|
-
|
|
1
|
Sound On/Off
|
-
|
|
2
|
Brake Key (see text)
|
517
|
|
3
|
Horn
|
520
|
|
4
|
Horn
|
523
|
|
5
|
Light Engine
|
-
|
|
6
|
Sliding door
|
-
|
|
7
|
Engine speed-up
|
-
|
|
8
|
Interior lights
|
535
|
|
9
|
Flange Squeal
|
538
|
|
10
|
Guard’s whistle
|
541
|
|
11
|
Drain air tanks
|
544
|
|
12
|
Buzzer
|
547
|
|
13
|
Buzzer
|
550
|
|
14
|
Windscreen wiper
|
553
|
|
15
|
Handbrake
|
556
|
|
16
|
Reserved
|
559
|
|
17
|
Reserved
|
562
|
|
18
|
Reserved
|
565
|
|
19
|
Fade All Sounds
|
-
|
|
20
|
Reserved
|
-
|
|
21
|
Reserved
|
-
|
|
22
|
Reserved
|
-
|
|
23
|
Reserved
|
-
|
|
24
|
Reserved
|
-
|
|
25
|
Reserved
|
-
|
|
26
|
Reserved
|
-
|
|
27
|
Volume Down
|
-
|
|
28
|
Volume Up
|
-
|
Paul Chetter Lincoln July 2015
 MENU
MENU